October 10, 2020
 Offline
By brute strength and a few Tony Robbins tapes, I was able to get the STI 38/40 extractor to work and fit according to specs.
Although the OAL of all the extractors I had bought are the same as the original, the STI one does have a very slightly different claw region - more compressed in size. Once in, this did allow for enough filing and reshaping to produce the proper hook-to-breech face dimension needed for the 10mm cartridge while allowing enough meat left on the claw this time. The claw hook is right where it should be positioned in the rim of the casing and has no contact with the case bevel now. Plus the round now sits flush on the breech face instead of almost an 8th inch off.
Setting the deflection was easy after finding an article on how to shape the tensioning wall face to ensure correct contact with the extractor tunnel. (See picture). Lastly, tension was fine tuned. Et voila! After several months of waiting for the mail and 3 extractors later, I now have a CBOB that ejects both live rounds and casings consistently to 5 feet at 4 o'clock. What a concept! I still, however, had to file the 1mm of excess off the tail end to get it flush - a stressful affair given the energy I had into the extractor by this time. I would certainly have burst a vessel had I messed it up or injured the gun.
That goofy ultra long original ejector also seems to do the job now so I'll just let it be. Nice to have that length to get a live cartridge ejected. (I'll keep the new less-extended one at the ready). It sure is a nice feeling having a well-behaved 1911!
As a true glutton for punishment, my next project is new sights. The stock night sights are long ago burned out and the remaining dead dots aren't enough for good day time visibility. And it looks cheesy either painting new white dots or blacking them out.
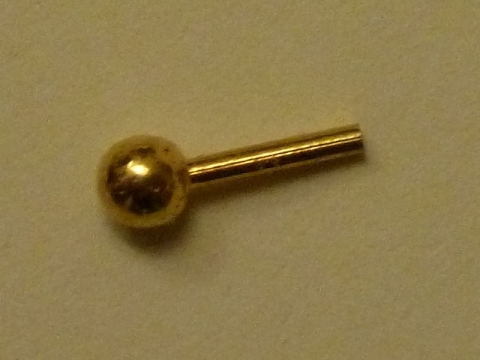
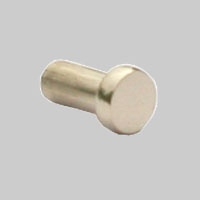
I'm putting a gold bead in front and a pricey luminous tritium half square adjustable at rear. I might be able to put a 2mm polished gold bead in the existing front sight instead of the entire new one. It depends on how the new front sight looks. Maybe FO would be better. I'll keep the progress notes on here with pics as I go. I'm sure things will go smoothly. 😳
"Knowledge is good". E. Faber
October 10, 2020
 Offline
Hey Dart, thanks a lot and for the advice and encouragement along the way as that success didn't come easily.
I took the CBOB out shooting today, a short session only as it is 46 windy, grey and raining here today. I shoot under cover but I mainly went just to see the ejection pattern! And everything went smoothly - only 50 rounds, but no FTF, FTE or misc jams - zero, ziltch, nada!
The flat FPS seemed to make for less flip too, which is what I thought could also have been adding to the ejection/feeding woes of the past. The ejection pattern was awesome! A 2 foot group at 5 feet and 4 o'clock, and not a one to the head, just as I'd hoped/planned for. No signs of clocking either. What a relief!
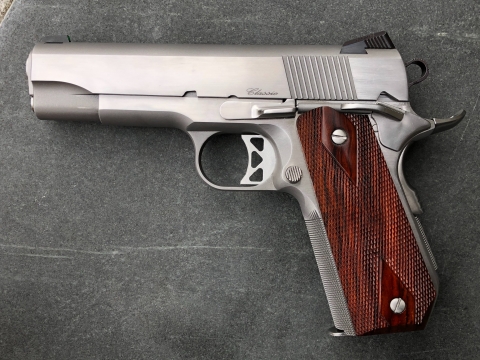
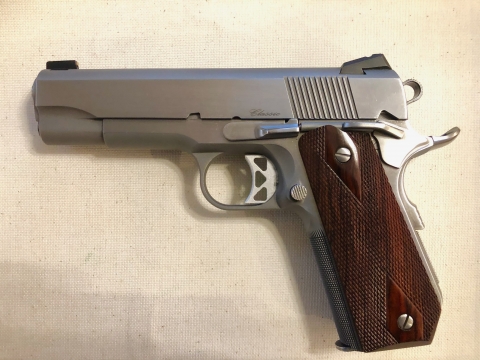
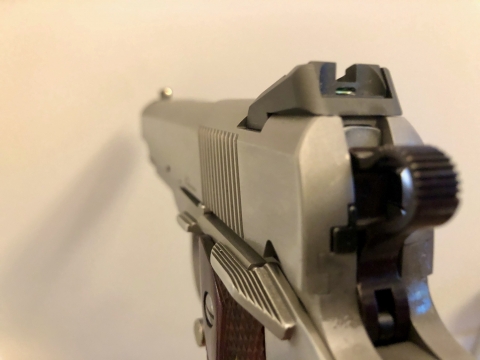
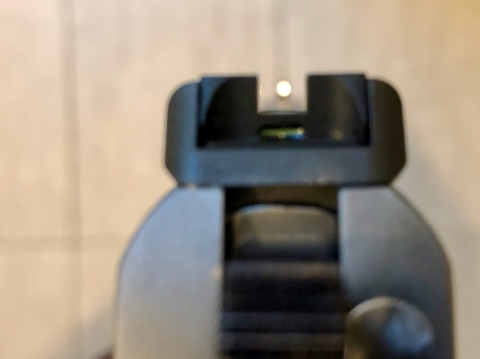
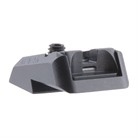
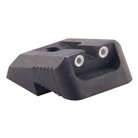
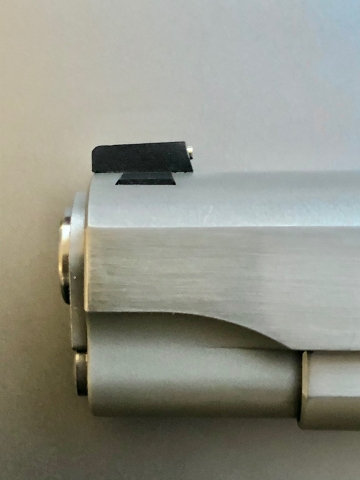
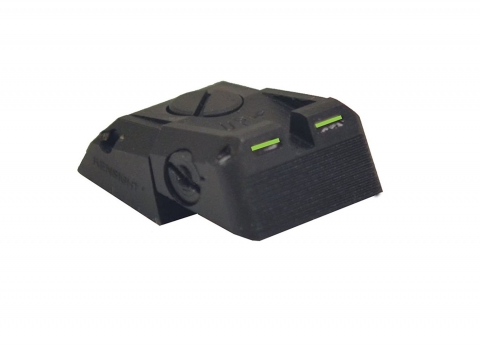
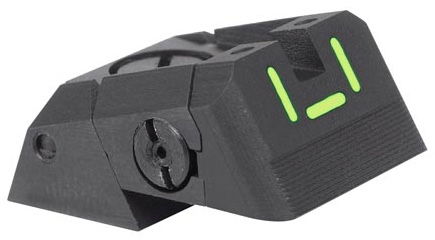
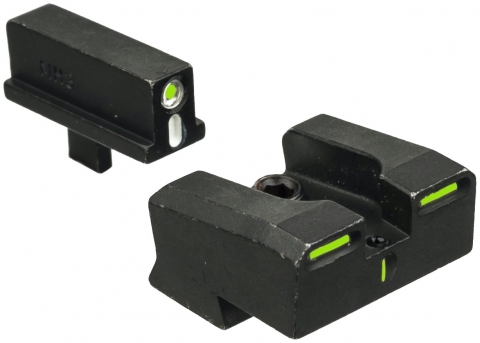
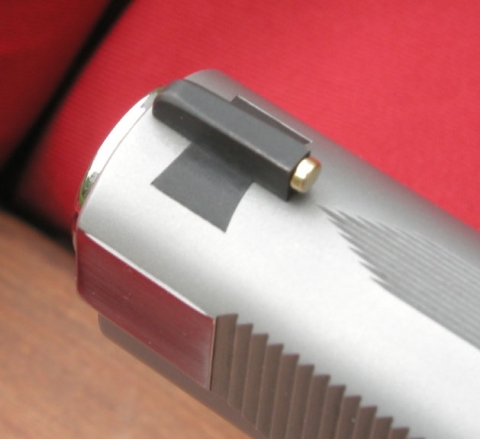
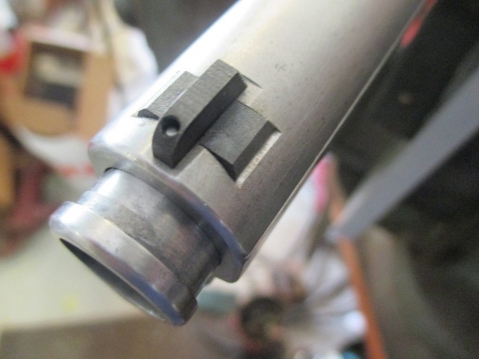
Once home, I decided to ride the energy high and take on the new sights that arrived New Year's Eve. The new front is an Ed Brown 0.180" gold bead/disk, and the rear is a Novak low mount adjustable elevation with horizontal tritium bar, both from Brownell's.
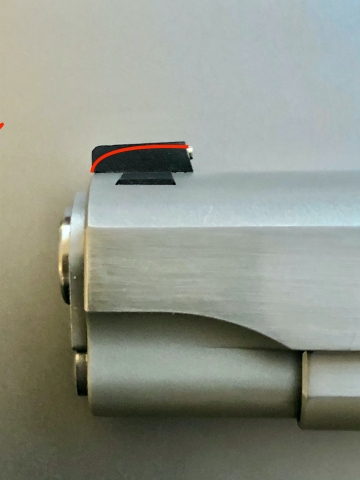
The front came off easily (push in direction of ejection) once the 1/16th roll pin was knocked downward into the dustcover. A 1/16th punch was too big btw and a custom ground half moon faced brass punch didn't mar the sight's side surfaces. The new sight needed the usual reduction off the base and therefore a fraction off the underside of the nose for clearance but it went in well. The only issue was that the supplied roll pin didn't line up exactly so I just manhandled it in far as I could then bucked off the excess. Piece of wire to fill the roll pin hole then black paint. Polished/beveled gold disk. Pretty slick, although the new sight's sideview contour is too square for my liking. I'll probably file it to suit later on.
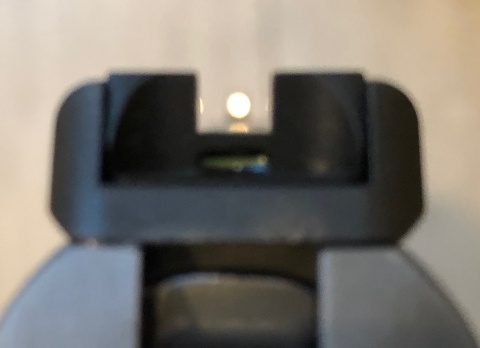
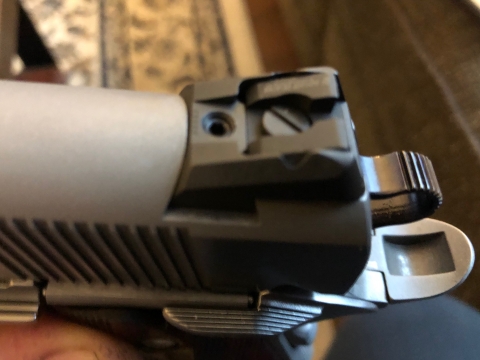
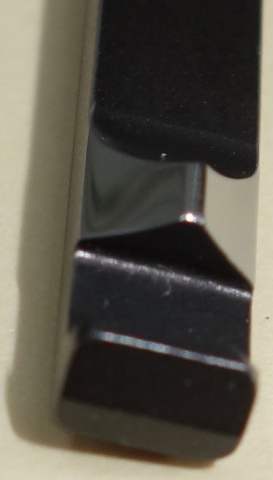
The rear came out well but the new one had just a touch of resistance going in, as in not enough going in. Crap. But with 3 pieces of aluminum foil shims underneath and a slight drill hole in the slide for the set screw to mechanically anchor in, plus a dab of blue Loctite, it's snug as a bug. The profile of the new rear sight is the same as the original and the elevation/moving part does so in a slot, not the whole back end piece, like a Kensight I've used on another 1911. It actually looks like the original one piece solid sight does and gives no indication that its 2 parted piece which I find a bonus in keeping the look original The tritium bar is not really visible at all unless one knows its there; it glows weakly in the darkness but it looks better in daylight than 2 dark-centred white circles.
The front gold bead now polished actually works pretty well. I guess it's just there to help with front sight acquisition from the draw and it does it well in the low light of a coastal winter. The only gripes are the side profile is too square as noted and the base is not a smooth transition that fits the curvature of the slide as does the original, but has a small stepped situation. Not a big deal, but being less filling of the dovetail, it slightly shows the scrape marks on the slide slot caused by insertion. I think it will be good going forward however as it is quite rugged compared with an FO sight and it gives a classy look befitting of such a beautiful gun. Plus the tritium bar is an ode to keeping with the carryability at night as originally intended. I did find that the original DW 3 dot night sights are still available for purchase at Harrison which might have been the easy way out, but I think for my situation this is a good set up. All that's left now is to sight it in. So more shooting is on the way tomorrow!
More pics to come once new holster arrives.
"Knowledge is good". E. Faber

DWF Supporters
July 12, 2020
 Offline
Very nicely done with the sights! The only thing I can see in your future is some rubber O rings for the slotted grip screws. Then you can line up the slots parallel to the grips (sorry I'm just OCD sometimes).LOL Keep me updated on the shooting successes and FTE/FTB if any.
October 10, 2020
 Offline
Hmm. Now that you mention the grip screws, they do really stand out don't they? I can't unsee them now so I guess some O rings are next. I haven't fully committed to the slot screws yet, so she wears the factory Allens on the other side still!
"Knowledge is good". E. Faber
October 10, 2020
 Offline
A breather? Thank you for your concern, but Ha! My wallet has been scorched so many times that I keep it in an urn on the fireplace mantle.
Anyway, fortunately O-rings are cheap as borscht so I've ordered a few types of various sizes from Amazon to try to get a consensual size for this gun as there are many conjectures of size out there. I've got 4mmODX2mmIDX1mm thick plus 5X2X1.5mm coming next week.
Meanwhile, I'll do something free like recontour the front sight - the squareness IMHO conflicts with the form of the gun.
"Knowledge is good". E. Faber
October 10, 2020
 Offline
#60's are the most often quoted but if you search it a bit farther the common complaint is that they are too thick. Apparently the 3mmx1.5mm is better but nobody ever specifies what the OD, ID and thickness are. Search that some more and it turns out 5X3X1.5 are the ones to get. I measured out the grip screw head and 5mm seems too big. So I got an assortment coming. I'll take pics of all so maybe we can sort this one out once and for all.
"Knowledge is good". E. Faber

DWF Supporters
July 12, 2020
 Offline
Let us know what you find out I will grab a bag of that size also. I like the 60's, you can line up the slot in any direction and still have the resistance on the screw to keep it from coming loose. All of my pistols with slotted screws have regular thickness grips and longer screws/bushings so the extra thickness doesn't affect the screw starting in the bushing threads.
1 Guest(s)

 Register
 Log In
 Home
Home


