January 22, 2008
 Offline
CF,
Looks like Tommy2's signature is causing problems with this thread. I think your question is about the difference in the look of the finish of the grips above. I had only put 3 coats of Polyurethane on the grip in the lower post when I took the picture. It is also a different type of wood, with a more porous grain.
The gloss Minwax produces a nice look but the grips may be a little too slick for hard recoiling calibers. Semi-gloss might look just as good. It's so easy to change grips, one could use the shiny ones for pictures and rubber ones for shooting.
-Wayne

Supporter

Moderators
January 24, 2009
 Offline
Supporter
Range Officer

Range Officers
May 2, 2009
 Offline
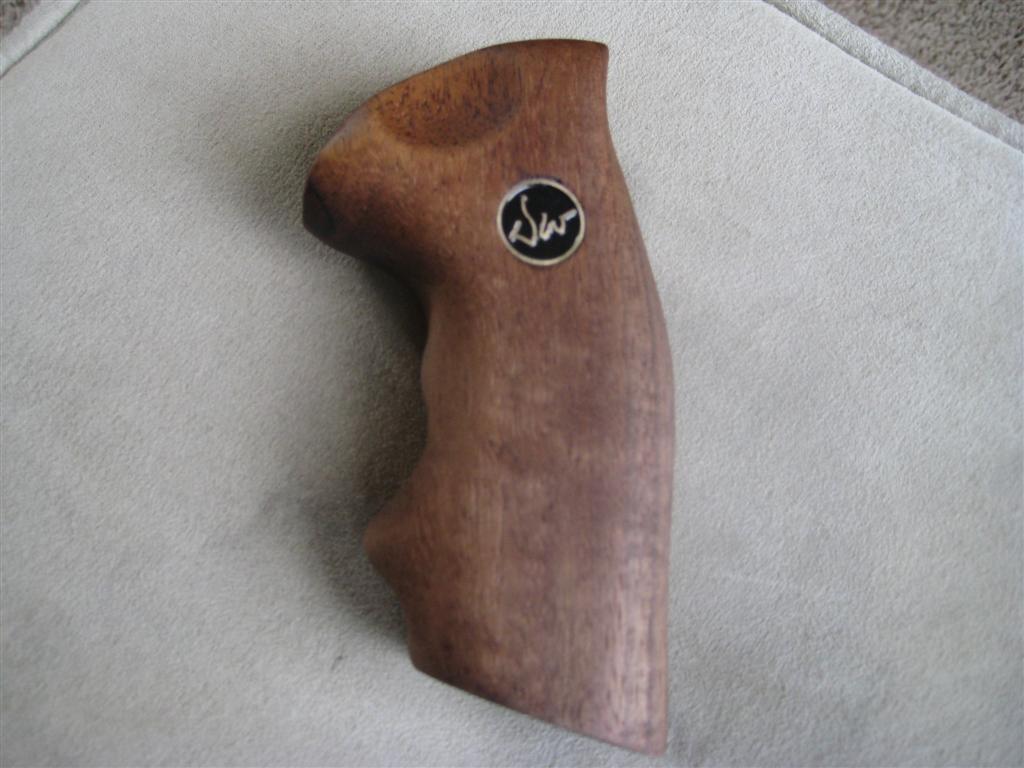
OK, here they are--sorry for the long wait--too many projects going on 🙂 For the minimal effort involved and needing no special tools, this is a no brainer project if you have some old stock grips in average shape. I made one small mistake--I glued the medallion back in with superglue...no big deal right? Well if you narrow the grips and don't shorten the medallion posts before you glue them back in.... they block the grip tang square hole  ...guess I need to break out the dremel 🙂 So here they are -- Danish oil finish soon to be topcoated with wax (I don't like glossy finish on guns).
And for the next project I'm using a set of HS donor grips....
These are going to be a set of NARROW grips....
SHOOT
Supporter

Moderators
January 24, 2009
 Offline
Range Officers
February 25, 2009
 Offline
Supporter
Range Officer

Range Officers
May 2, 2009
 Offline
Charger Fan said:
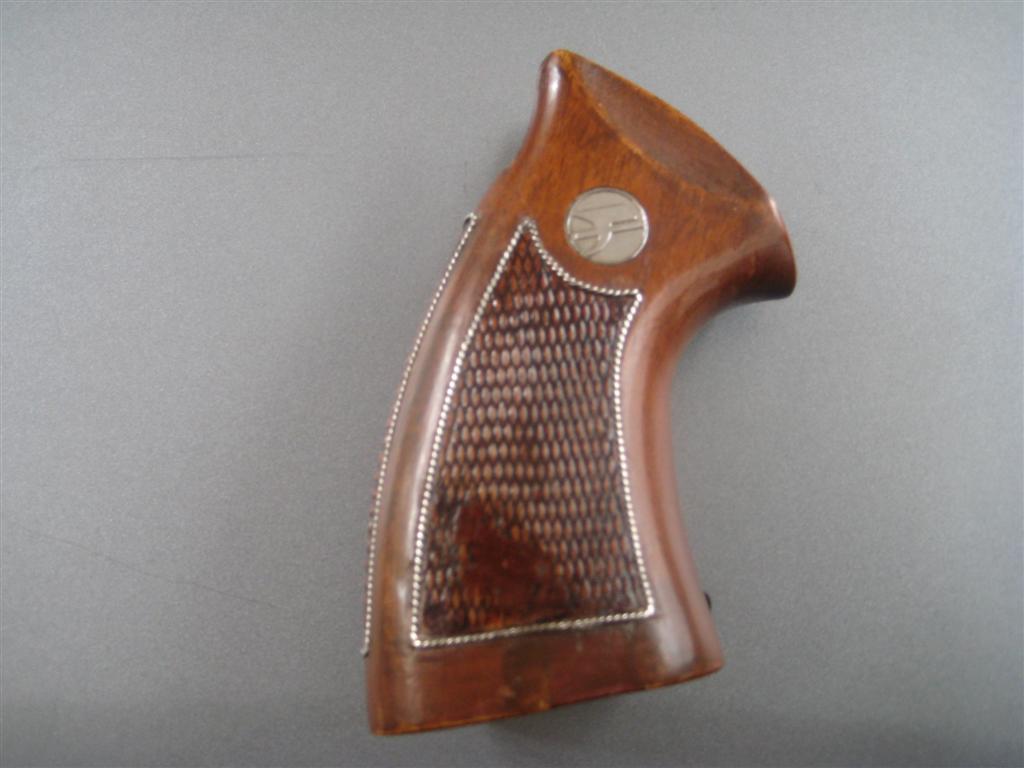
Geez, I can't believe you didn't want to leave the "bracelets" on that HS grip. 😛

That top one turned out nicely, looking forward to seeing the results of the next one.
Yea, the "Custom" HS grips had to go... 😉 I did find out that the HS logo is made of plastic -- the DW medallions are solid brass. The HS medallions were REALLY stuck in there.
SHOOT
Supporter

Moderators
January 24, 2009
 Offline
Range Officer

Range Officers

Dans Club
March 27, 2009
 Offline
Supporter

Moderators
January 24, 2009
 Offline
May 3, 2011
 Offline
These grips are FAT grips, and definitely needed trimming down. So I went at them with a sanding wheel on my dremel for the initial shaping & sandpaper to finish the job. They turned out ok, I guess. I tool a lot of meat off these things, especially behind the trigger.
I left the thumb rest on the left side & smoothed it for the right.
And I left some of the checkering, for a bit of palm swell.
I love this color. It's almost like a Pilgrim red to me. L.B. do you know what color this is? I asked Charger about it, but he didn't remember then. Those thin grips really look sharp too.


DWF Supporters

Dans Club

Moderators
November 17, 2008
 Offline
Supporter
Range Officer

Range Officers
May 2, 2009
 Offline
glockanator said:
Hey shoot how did you make the cuts for the slimed down grips? Did you ever get them finished?
Crap-- I knew somebody was going to ask  .... I hate to admit it, but they are sitting on the bench in the same condition... life got real busy and I haven't got back to them.
I actually used a 6" wide belt sander to remove the sides of the grips. And now that it is out in the open what a slacker I am--I'm going to try and work on them over Thanksgiving weekend  .
.
SHOOT
October 11, 2009
 Offline
SHOOTIST357 said:
glockanator said:
Hey shoot how did you make the cuts for the slimed down grips? Did you ever get them finished?
Crap-- I knew somebody was going to ask
.... I hate to admit it, but they are sitting on the bench in the same condition... life got real busy and I haven't got back to them.
I actually used a 6" wide belt sander to remove the sides of the grips. And now that it is out in the open what a slacker I am--I'm going to try and work on them over Thanksgiving weekend
.
SHOOT
Ha HaHa Ha sorry shoot! I am looking at doing something similar thats the only reason I asked. great work by the way!
1 Guest(s)

 Register
 Log In
 Home
Home


